Epoxy Floor Coating has become not only a fashion but a necessity these days. The use of tough-as-nails epoxy coatings converts concrete floors into stylish yet durable surfaces that stand up to spills and stains. Epoxy floor coating, a two-part mixture of resins and hardeners, enlivens, protects, and updates concrete floors in basements, sunrooms, and patios in an easy and cool way. Talk of efficacy rolled on in multiple layers, epoxy coatings create seamless stretches of flooring that withstand grease, scuffing, moisture, and chemicals. The Best Epoxy Flooring for Homes would attract others. Epoxy coatings, which require blending two separate components before application, firmly adhere to concrete and are unlikely to chip or peel like regular basement floor paints and give longtime durability.
Install Best Epoxy Flooring for Homes in a Low Cost
These characteristics of durability and their non-flammable nature make Epoxy Coated Floors a good choice for basement workspaces. Like Interior Design Pattern Trends epoxy designing also matters. They are strong enough to withstand dropped power tools, carry the weight of rolling and parked cars, and stand up to spills of all kinds without any damage or dint. In fact, when properly applied, epoxy floor finishes can endure for as long as 20 years and may go beyond that as well.
What you need to go about like this:
How to Choose the Best Epoxy for Floor
To start with, it is in fact known fact that Epoxy Floor Paints are tough resin-based paints that come in two separate parts mixed before applying. There are three different types of epoxy paint; solid, solvent-base, and water-based.
Coverage Considerations
Before you begin, you need to thoroughly clean and patch the floor to be coated. You should also calculate carefully how much mixture is required for Epoxy Floor Coating. Many floor epoxy kits supply only one coat of coverage, and you will need a minimum of two layers
Time is of the essence once the epoxy paint and the hardener components are mixed. The epoxy mixture is only workable for about 2 hours.
Prefer to tackle it yourself? These step-by-step instructions would surely guide you:
Potential Drawbacks
Epoxy coatings require a good deal of surface cleaning and preparation upfront, as well as multiple applications with curing times of at least 12 hours for each coat. For optimum curing, concrete surfaces should be bone dry and at least 55 degrees and air temperatures should be between 60 and 90 degrees.
Moreover, Epoxy Floor Finishes are naturally shiny, which makes them easy to clean but slick when wet. There are some concrete surfaces such as those that suffer from dampness or those that are already sealed that are unsuited to epoxy floor coatings. New concrete must have been cured for at least 30 days before epoxy coatings can be applied.
See Also
Best Ideas for Home Decoration in Pakistan
How to Apply Epoxy Floor Coatings?
What you will need:
- Two-part epoxy paint
- Flat-edge shovel or scraper
- Shop vacuum
- Garden hose
- Power scrubber with a brush attachment or long-handled acid brush
- Stiff-bristle brush
- Rubber squeegee
- Plastic sprinkler can
- Drill with stirring bit
- Paintbrushes
- 9-inch medium-nap roller and roller pole
- Duct tape
- Plastic bag
- Cleaning/degreasing solution
- Rubber gloves
- Respirator
- 32-percent muriatic acid
1) Clean Concrete Surfaces
For gaining the best results of Epoxy Floor Finish on a concrete surface, first of all, use a flat-edged shovel or scraper to remove hardened debris. Then, vacuum the basement floor. Prepare a cleaning/degreasing solution according to the manufacturer's instructions. Wear rubber gloves, use a stiff-bristle brush and the solution to scrub off any grease or oil stains.
Use a hose to wet the entire floor with water. Working in 5-foot-square sections, use a power scrubber with a brush attachment and the degreaser to clean the entire floor and use the stiff-bristle brush to scrub the corners along the walls where the machine cannot reach. After the floor is clean, use a rubber squeegee to pull soapy water into a central area. Remove the solution with a wet-dry vac.
2) Prepare Acid-Etching Mixture
Pour a gallon of water into a plastic sprinkler can. Wearing a vapor respirator, pour 12 ounces of 32-percent muriatic acid into 15 cups of water (for smaller or larger amounts, use 1 part acid to 10 parts water) in the sprinkler can. Mix the solution for a few seconds with a paint stirrer. Sprinkle the mixture evenly over a 10x10-foot area.
3) Scrub and Etch
Power-scrub the 10x10-foot area for 10 minutes or use a long-handled acid brush (to save on equipment rental). Repeat the sprinkling/scrubbing process until the entire floor is acid etched. Rinse three times to flush acid residue. Let the floor dry overnight.
4) Mix Epoxy Coating
Following the manufacturer's instructions, use a drill and stirring bit to mix together the two Epoxy Solutions. To ensure complete blending, pour the mixture into a second bucket and power-mix the paint again.
5) Apply Along Perimeter
Using duct tape, tape the area directly beneath the garage door, then brush a 4-inch strip of epoxy against the tape and along the walls.
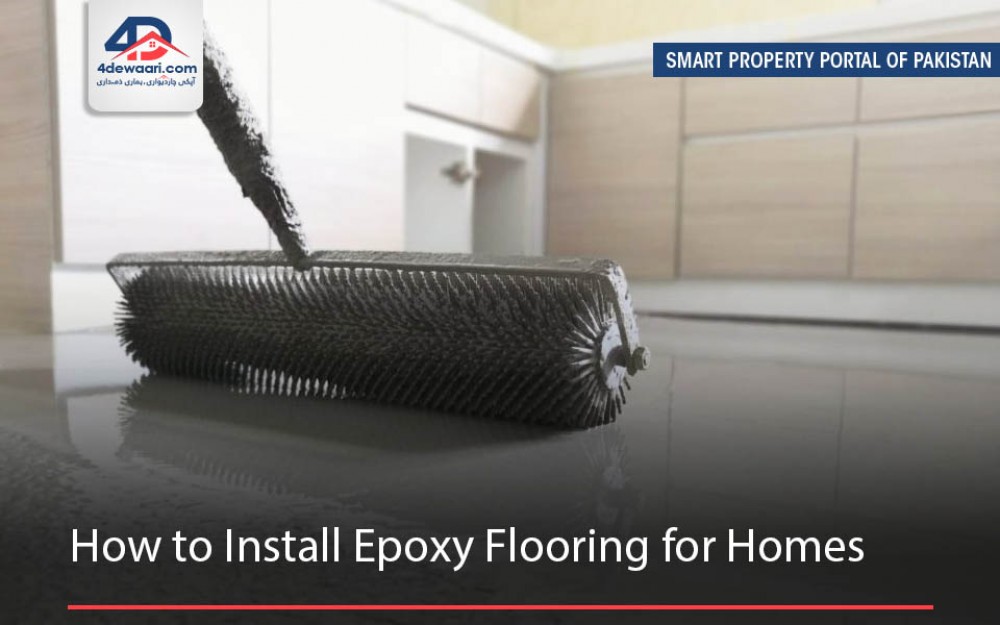
6) Roll on Epoxy
Use a 9-inch-wide roller with a medium nap for High Gloss Epoxy Floor Coating to paint the floor. Attach the roller to a pole. Then, dip the roller into the bucket of epoxy so only the bottom half of the roller is covered. (This loads the roller with the right amount of epoxy.) Working in a 4-foot-square area, apply epoxy to the basement floor in a large "W" pattern. Bankroll to fill in the pattern and remove any roller marks. Make sure edges remain wet as you move from section to section to prevent noticeable seams from forming.
7) Apply a Second Coat
If you don't want High Gloss Epoxy Flooring (they are slippery when wet), add a non-skid floor coating into the epoxy for the second coat. Stir with the drill and stirring bit. Repeat step seven. Want to add color flakes? Scatter them lightly while the area is still wet, and add more flakes until you create your desired pattern.
8) Finish
Mask off and paint the bottom 4 inches of the basement wall with the epoxy mix used on the floor. This border creates a cohesive look that also acts as a protective baseboard. Congrats you have done and got a Classy Epoxy Floor!